- Why Verature?Find out why Verature is the best system for continuous contractor compliance.
- Arrive, Work & Stay Safe
- Removes Paper & Spreadsheets
- Tracks Key Contractors
- Instant 360 Visibility
- Contractor Management Dashboards
- Why Contractor Management Software
- Our Customer Reviews
- Pricing
We don’t hide behind fancy sales teams before we tell you, our prices.- Clients
See who we are working with and what they have to say about Verature.- Resources
Check out our blog, useful guides, whitepapers and product videos.- Prequalification and Induction Guide
- Contractor Compliance Guide
- Mini-Audit your Permit to Work System
- Health and Safety Audit Checklist
- Resource Library
- Blog
Book a demo
Ascending New Heights, Safely: Inside a Working at Height Permit Template
Working at height is a common task in various industries, from construction and maintenance to telecommunications and agriculture. However, it also poses significant risks if not managed properly.
Recently a company found in breach of the Work at Height Regulations 2005 was fined £16,000 and was ordered to pay £4,462.59 in costs. The HSE found ‘…a lack of suitable controls for preventing falls’ and ‘inadequate planning’ behind a further incident, leading to fines of £12,000.
To ensure the safety of workers and compliance with regulations, it’s essential to have a robust permit to work system in place. In this blog post, we will discuss what your working at height permit to work template should include to enhance safety and streamline the process.
1. Identification and Contact Information
Start your permit to work template with a section for identifying key information which includes:
- Project/Job Name: Clearly state the name or description of the task or project where working at height is required.
- Location: Specify the exact location of the work, including site or facility details.
- Date and Time: Include the date and time the permit is issued and when the work is scheduled to take place.
- Work Team Register: List the names and roles of all individuals involved in the work.
- Emergency Contacts: Provide contact information for emergency services and relevant personnel, such as a safety officer or supervisor.
2. Hazard Assessment
A comprehensive risk assessment is crucial for working at height. This should never be a general working at height risk assessment but specific to the task, location and conditions of the job in question. It might include an appendage to a separate risk assessment. Your permit to work template should include:
- Risk Assessment: Identify potential hazards associated with the specific task, such as unstable surfaces, falling objects, or adverse weather conditions.
- Risk Rating: Assign a risk rating to each identified hazard, indicating its severity and likelihood.
- Control Measures: Describe the control measures that will be implemented to mitigate each identified risk. This may include using fall protection equipment, conducting regular inspections, or establishing exclusion zones.
- Rescue Plan: Outline the procedures for rescuing a worker in case of an emergency while working at height.
3. Permits and Authorisations
To ensure that only qualified personnel undertake and oversee work at height, your template should include:
- Permit Issuer: Clearly state the name and position of the individual responsible for authorising the work.
- Competency Checks: Ensure that workers have the necessary training and certification to perform the task safely. Your permit template may ask the permit issuer to confirm this prequalification process has taken place prior to the permit being issued. A comprehensive system that includes contractor profiles for collating competencies, skills and records, such as Verature, offers a useful reference tool.
- Permit Number: Assign a unique permit number for tracking and record-keeping purposes so you can easily retrieve permits and check authorised personnel.
4. Work Procedures
Your template should detail the specific procedures that must be followed when working at height:
- Method Statement: Provide a step-by-step description of how the work will be carried out, emphasizing safety protocols.
- Tools and Equipment: List all tools, equipment, and materials required for the job, along with maintenance and inspection requirements.
- Safe Work Practices: Include guidelines for safe work practices, such as proper use of personal protective equipment (PPE) and adherence to industry standards.
5. Communication and Sign-Off
Ensure and enable clear communication and accountability throughout the process:
- Communication Plan: Specify how communication will be maintained among team members during the task, including radio or hand signal protocols.
- Signatures: Include spaces for all relevant personnel to sign and acknowledge their understanding of the permit’s terms and conditions.
- Permit Duration: State the duration for which the permit is valid, when it will expire and any renewal requirements.
6. Monitoring and Reporting
Monitoring and reporting needs to be in place to maintain safety standards and regulatory compliance:
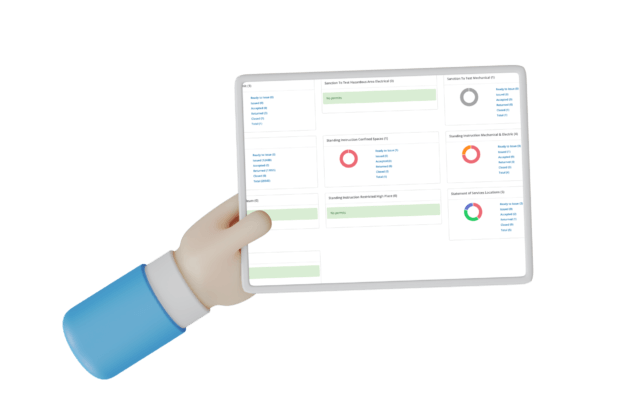
- Inspection and Monitoring: Define how and when inspections will be conducted to ensure that control measures remain effective. Providing a digital permit system can facilitate this, as these often come equipped with automated features that improve compliance and accountability. Systems, such as Verature, can send automated reminders for scheduled inspections/checks, permit expiration dates and help record audits, reducing the likelihood of oversights or missed deadlines.
- Incident Reporting: Outline the procedure for reporting incidents, near misses, or any deviations from the permit conditions.
7. Emergency Response
Prepare for emergencies by including:
- Emergency Procedures: Detail the steps to be taken in case of accidents, injuries, or equipment failures.
- Contact Information: List emergency contact numbers and locations of first-aid supplies and emergency equipment.
8. Review and Closure
At the end of the task, ensure proper closure and documentation:
- Review and Closure: Specify how the permit will be closed out, including equipment retrieval, debriefing, and documentation. This might include work evidence, confirmation that the permit issuer has checked the work, and confirmation by the authorised persons that they have left the area in a safe state.
- Record Keeping: Establish a system for retaining records of the permit and associated documentation for a specified period. Reducing reliance on paper trails and keeping digitally stored versions of permits for longevity is why many companies now opt for digital permit to work systems.
9. Training and Awareness
Ensure that all personnel involved are well-informed:
- Training Requirements: Include information on the training required for working at height and ensure that workers are up to date with relevant certifications.
- Awareness: Emphasise the importance of raising awareness about working at height hazards and safety precautions. Online inductions may be utilised to help share important safety information with any attending contractors and work teams in advance of works.
10. Template Customisation
Make sure your permit to work template is adaptable, allowing for:
- Editable Fields: Design the template with fillable fields so that specific information can be added for each unique job. Permit systems can be useful for this as, as well as restricting fields to select lists to ensure that correct data is inputted, they can provide any number of customisable field types to ensure all essential data is collected.
- Version Control: Include a version number or date to track template updates and ensure that the most current version is in use. Opt for a cloud-based system to apply automated time/date/user stamps and an auditable log.
safety is paramount when working at height, and having a comprehensive permit to work template is a critical step in achieving it. Regularly review and update your template to reflect changing regulations, technologies, and best practices, and ensure that all employees are trained on its proper use. By doing so, you’ll create a safer working environment for everyone involved in tasks at height.
In today’s technology-driven world, digital solutions, like Verature, are revolutionising safety and compliance procedures, and the realm of working at height permits is no exception. Implementing a digital permit system can significantly enhance the efficiency and effectiveness of your safety protocols. With digital permits, information can be easily accessed and updated in real-time, ensuring that all stakeholders are on the same page. This streamlines the approval process, reduces paperwork, and minimises the risk of errors. Furthermore, digital systems often come equipped with automated reminders for inspections and permit expiration, improving compliance and accountability. Overall, embracing digital permit systems can take your working at height safety measures to the next level, allowing for more agile and responsive management of tasks carried out at elevation.
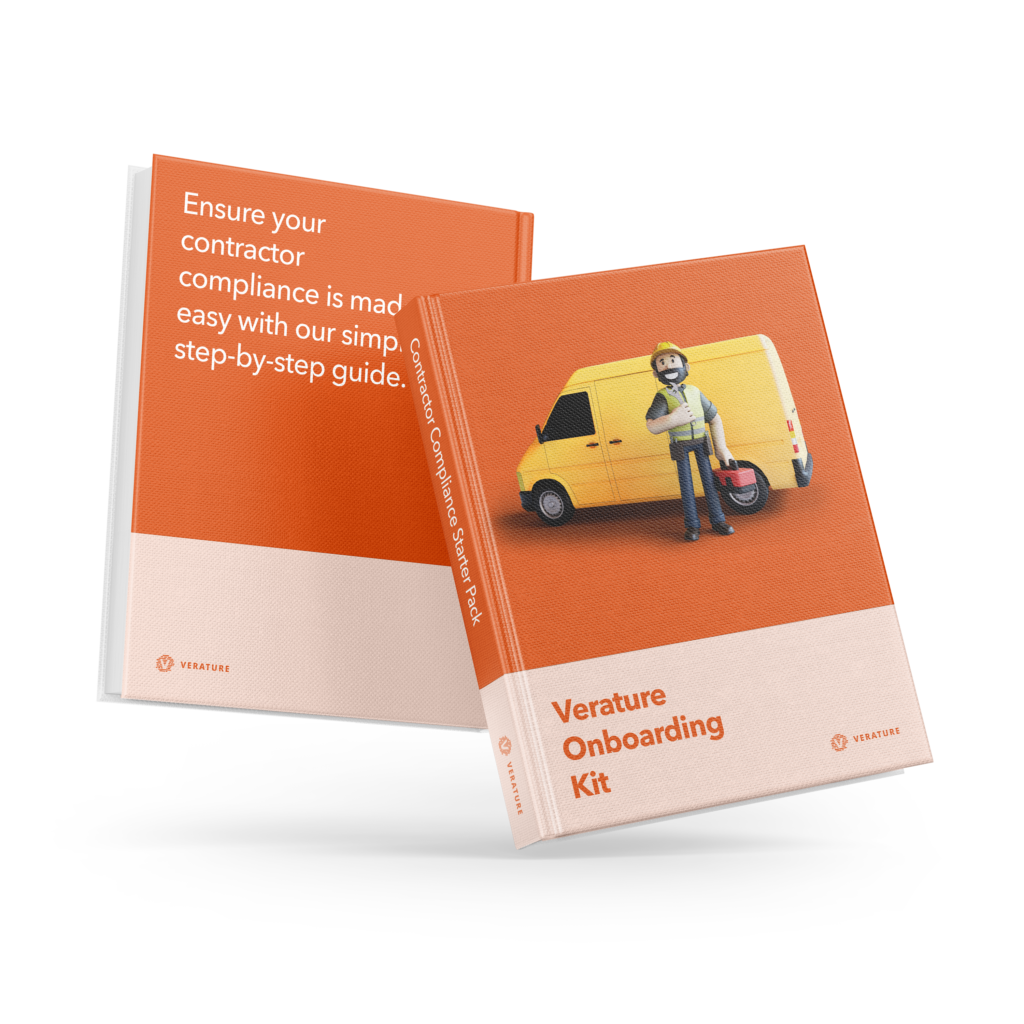
Enquire here for a guided demo on how the Verature permit system works.Book a demoFind out if you’re ready with our Verature Onboarding Kit
Not sure if Verature is right for you? We understand it’s not easy to make a decision on a new system, but that’s why we’ve created our Onboarding Kit to make that that process simple.
Check our package details
Find out no matter what package you choose, you’ll be getting the best features you need for you and your team so you can have continuous contractor compliance.
Make it your own
You’ll get to see and choose your customisation options, and check out the available add-ons and extras so the system is exactly what you want and need.
Quickly getting you started.
Keeping this guide with you, and working closely with us, we can walk you through each step so you can be completely up and running with your own Verature system.
More reasons to use Verature
It’s easy to get started.
Step 1
Book a demo of Verature with the team.
Step 2
We’ll chat through your requirements and see if Verature is right for you.
Step 3
We’ll send you demo access and our onboarding kit to help you decide what you need.
Step 4
You decide if we’re right for you. No pushy sales calls.
Step 5
Like what you see and hear? Let’s get you onboarded with Verature!


